Jenkins
- Pre-requisites
- Run sfdx-hardis configuration command
- Define sfdx-hardis environment variables
- Create the Multibranch Pipeline
- Update Jenkinsfile
- Schedule the monitoring job
Pre-requisites
Install required Jenkins plugins
Make sure the following plugins are installed on your Jenkins instance (Manage Jenkins → Plugins):
| Plugin | Purpose |
|---|---|
| Docker Pipeline | Run pipeline stages inside a Docker container |
| Credentials Binding ≥ 1.24 | Inject credentials as environment variables (required for optional: true support) |
| Pipeline | Declarative / scripted pipeline support |
| Multibranch Pipeline | Automatically create one job per monitoring branch |
Docker must also be available on the Jenkins node (the pipeline mounts /var/run/docker.sock for MegaLinter).
Create the GIT_ACCESS_TOKEN credential
The pipeline needs to push commits back to the repository. Create a Username with password credential:
- Go to Dashboard → Manage Jenkins → Credentials → (global)
- Click Add Credentials
- Kind: Username with password
- Username: your git username (e.g. your GitHub / GitLab / Azure DevOps / Bitbucket username)
- Password: a Personal Access Token with
read+writerepository permissions - ID:
GIT_ACCESS_TOKEN - Click Create
Run sfdx-hardis configuration command
- Run command Configuration → Configure Org Monitoring in VsCode SFDX Hardis, then follow instructions.
- When prompted to set up CI/CD variables, copy-paste their names and values into a notepad before continuing.
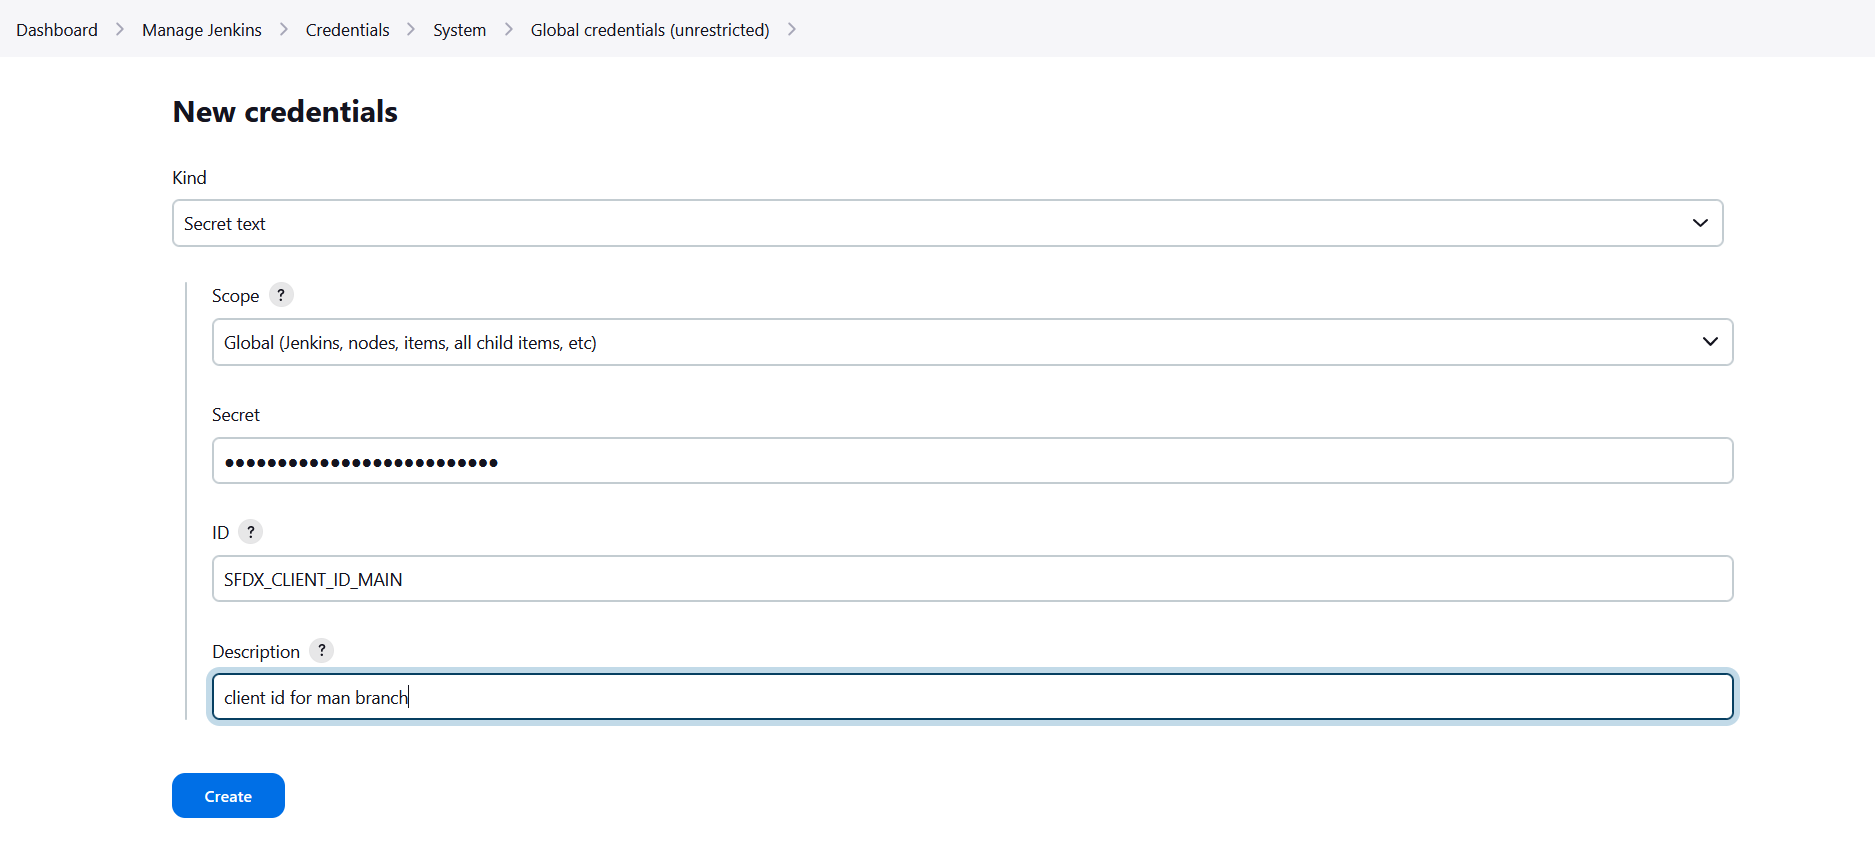
Define sfdx-hardis environment variables
For each variable the Configure org monitoring command tells you to define, create a Secret text credential in Jenkins:
- Go to Dashboard → Manage Jenkins → Credentials → (global)
- Click Add Credentials
- Kind: Secret text
- Secret: paste the value given by sfdx-hardis
- ID: the variable name given by sfdx-hardis (e.g.
SFDX_CLIENT_ID_MONITORING_MYCLIENT) - Click Create
Repeat for every SFDX_CLIENT_ID_* and SFDX_CLIENT_KEY_* pair, and for any optional notification credentials (SLACK_TOKEN, SLACK_CHANNEL_ID, NOTIF_EMAIL_ADDRESS, NOTIF_API_*, …).
Create the Multibranch Pipeline
Skip this step if you already created a Multibranch Pipeline for another monitoring org on the same repository.
- Go to Dashboard → New Item
- Enter a name (e.g.
salesforce-monitoring) - Select Multibranch Pipeline and click OK
- Under Branch Sources, add your Git server and point it to your monitoring repository
- Under Build Configuration, leave the default by Jenkinsfile (the
Jenkinsfileis at the root of each monitoring branch) - Under Scan Multibranch Pipeline Triggers, enable Periodically if not otherwise run (e.g. every hour) so Jenkins discovers new branches automatically
- Click Save - Jenkins will scan the repository and create one sub-job per monitoring branch it finds
Update Jenkinsfile
Each monitoring branch contains a Jenkinsfile at its root. Open it in VS Code and search for MANUAL to find all sections that need your attention:
1 - Add your org credentials
In every withCredentials([...]) block (Backup Metadata, Apex Tests, Monitoring Checks), add one pair of string bindings per monitored org:
withCredentials([
    // MANUAL: Add one pair per monitored org
    string(credentialsId: 'SFDX_CLIENT_ID_MONITORING_MYCLIENT',  variable: 'SFDX_CLIENT_ID_MONITORING_MYCLIENT'),
    string(credentialsId: 'SFDX_CLIENT_KEY_MONITORING_MYCLIENT', variable: 'SFDX_CLIENT_KEY_MONITORING_MYCLIENT'),
    // Add more pairs here if you monitor several orgs from this pipeline
    ...
])
The credential ID must exactly match the ID you created in Jenkins (step Define sfdx-hardis environment variables).
2 - Commit and push
Commit the updated Jenkinsfile and push it to each monitoring branch. Jenkins will pick up the changes on the next scan or run.
Schedule the monitoring job
The schedule is embedded inside the Jenkinsfile as a cron trigger:
triggers {
    cron('H 0 * * *') // Runs every day around midnight
}
To change the schedule, edit the cron expression and commit the updated Jenkinsfile. The H symbol spreads load across Jenkins agents - replace it with a fixed minute if you need a precise time.
Tip: Schedule monitoring jobs for different orgs at different hours (e.g. production at 1 AM, pre-prod at 2 AM) so notifications remain readable.