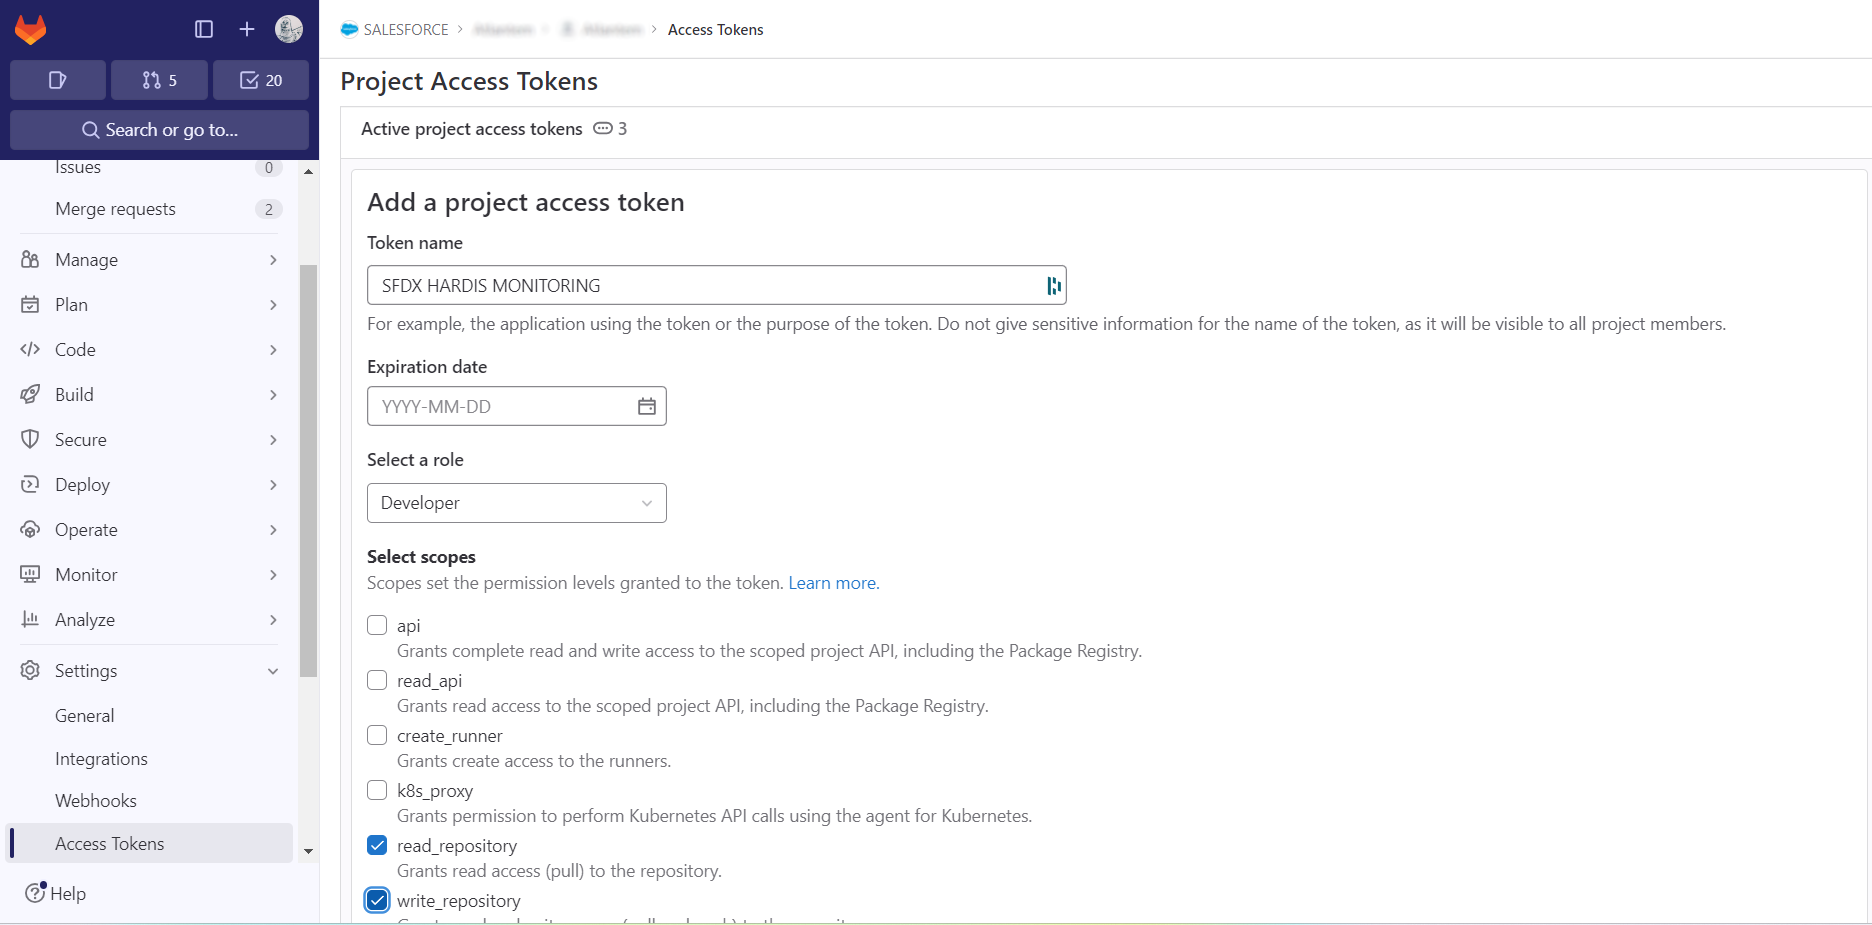
Go to Project -> Settings > Access Token(you must have GitLab authorizations to access this menu)
Create an access token with the following info:
name: SFDX HARDIS MONITORING
role: Developer
scopes: read_repository, write_repository
Copy the value of the generated token to your clipboard (Ctrl+C)
Create CI/CD variable
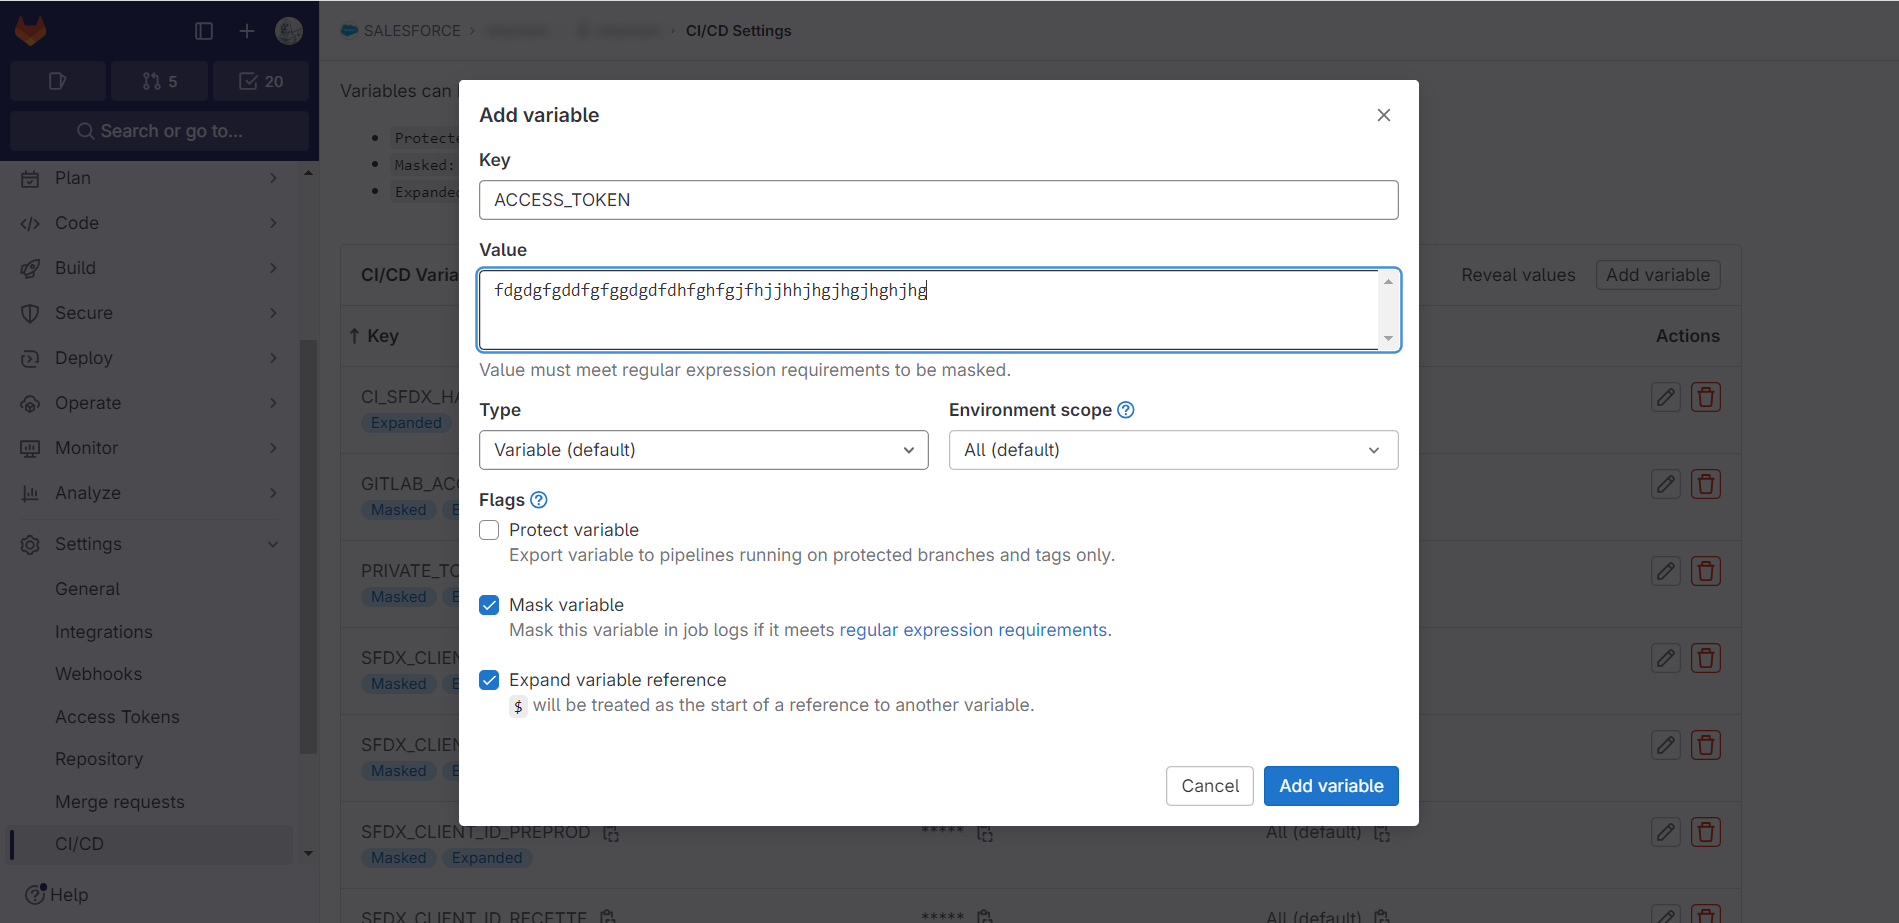
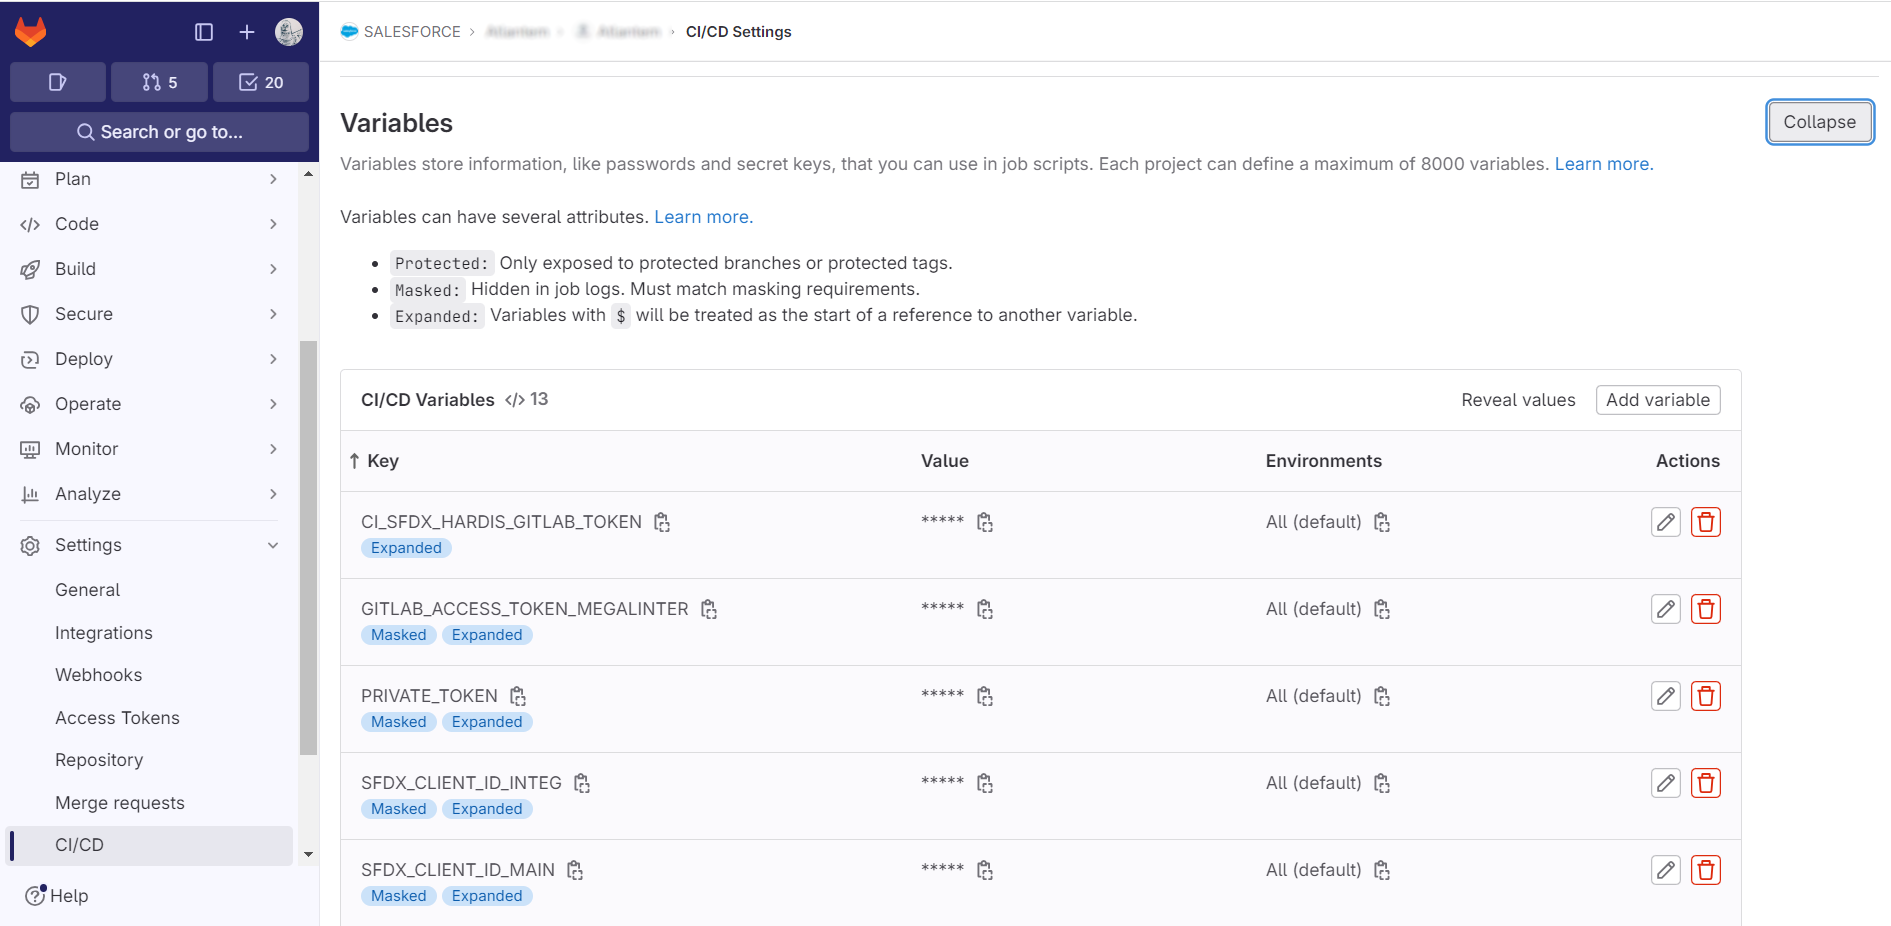
Go to Project -> Settings > CI/CD -> Variables(you must have GitLab authorizations to access this menu)
Create the variable with the following info:
name: ACCESS_TOKEN
value: Paste the value that has been generated when creating the access token in the previous step
Select Mask variable
Unselect Protected variable
Run sfdx-hardis configuration command
Run command Configuration -> Configure Org Monitoring in the VS Code SFDX Hardis extension, then follow the instructions.
Define sfdx-hardis environment variables
Go to Project -> Settings > CI/CD -> Variables(you must have GitLab authorizations to access this menu)
For each variable the sfdx-hardis command Configure org monitoring tells you to define, create it with the name and value given in the sfdx-hardis command logs
Schedule the monitoring job
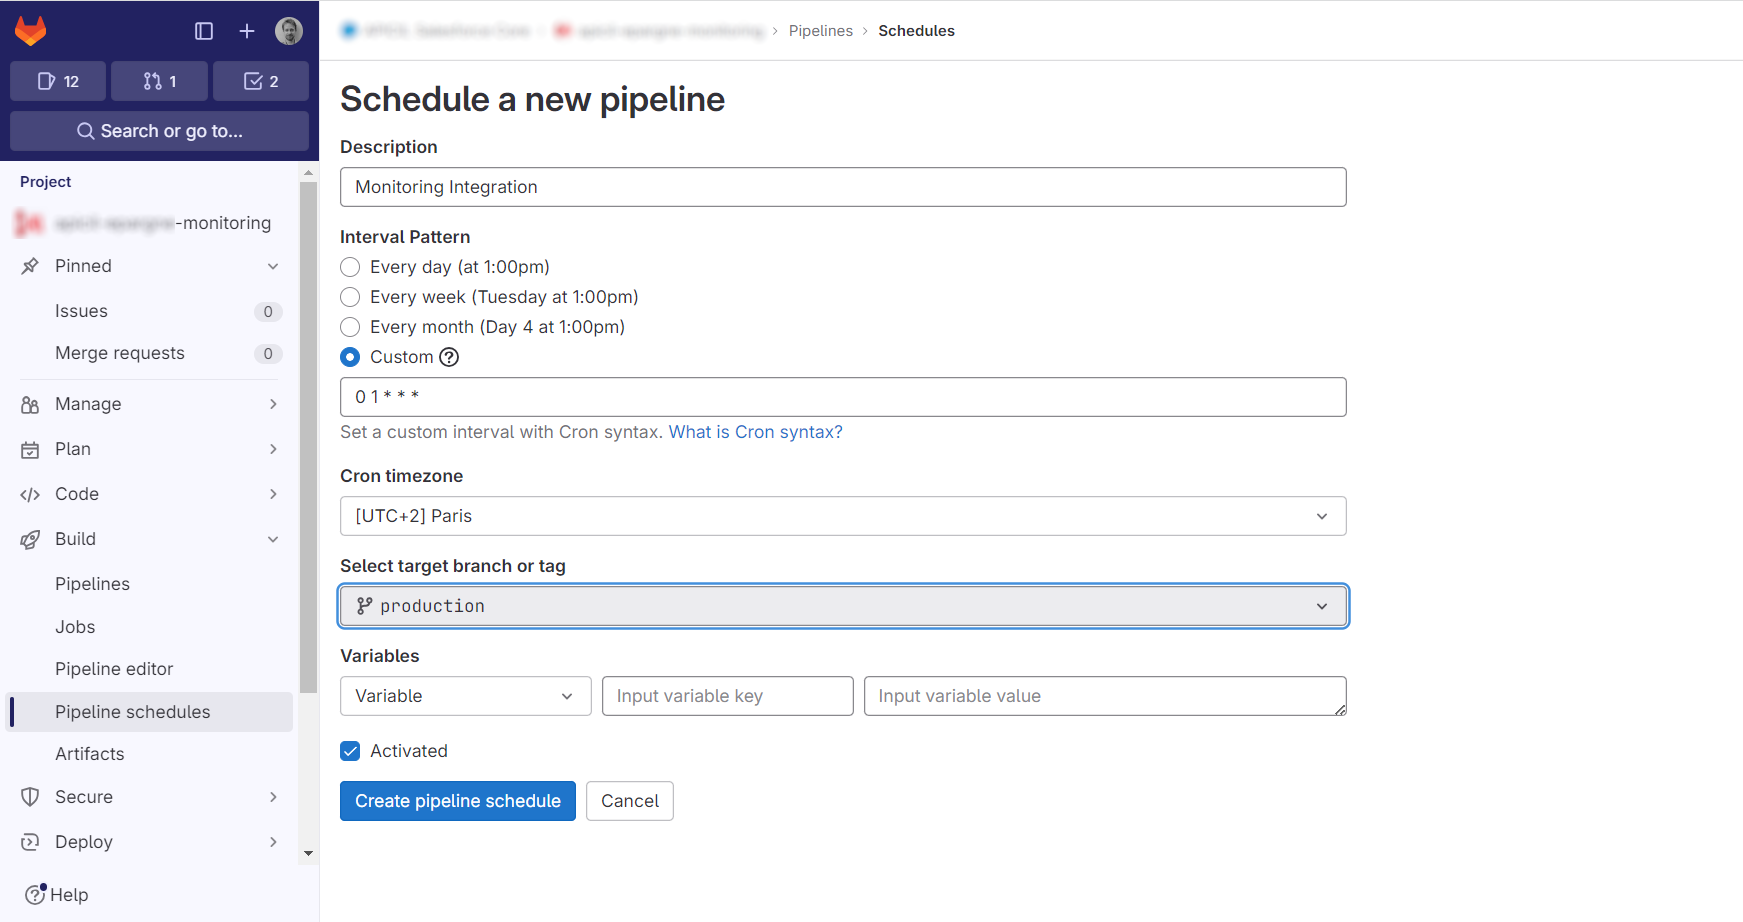
Go to Project -> Build -> Pipeline schedules
Click on New schedule
Enter a custom interval pattern as a CRON expression, for example:
0 1 * * * will run the monitoring job every day at 1 AM
0 22 * * * will run the monitoring job every day at 10 PM
Select the CRON TimeZone (for example [UTC+2] Paris)
Select the target branch corresponding to the org you want to monitor