Host on Cloudflare
Host on Cloudflare
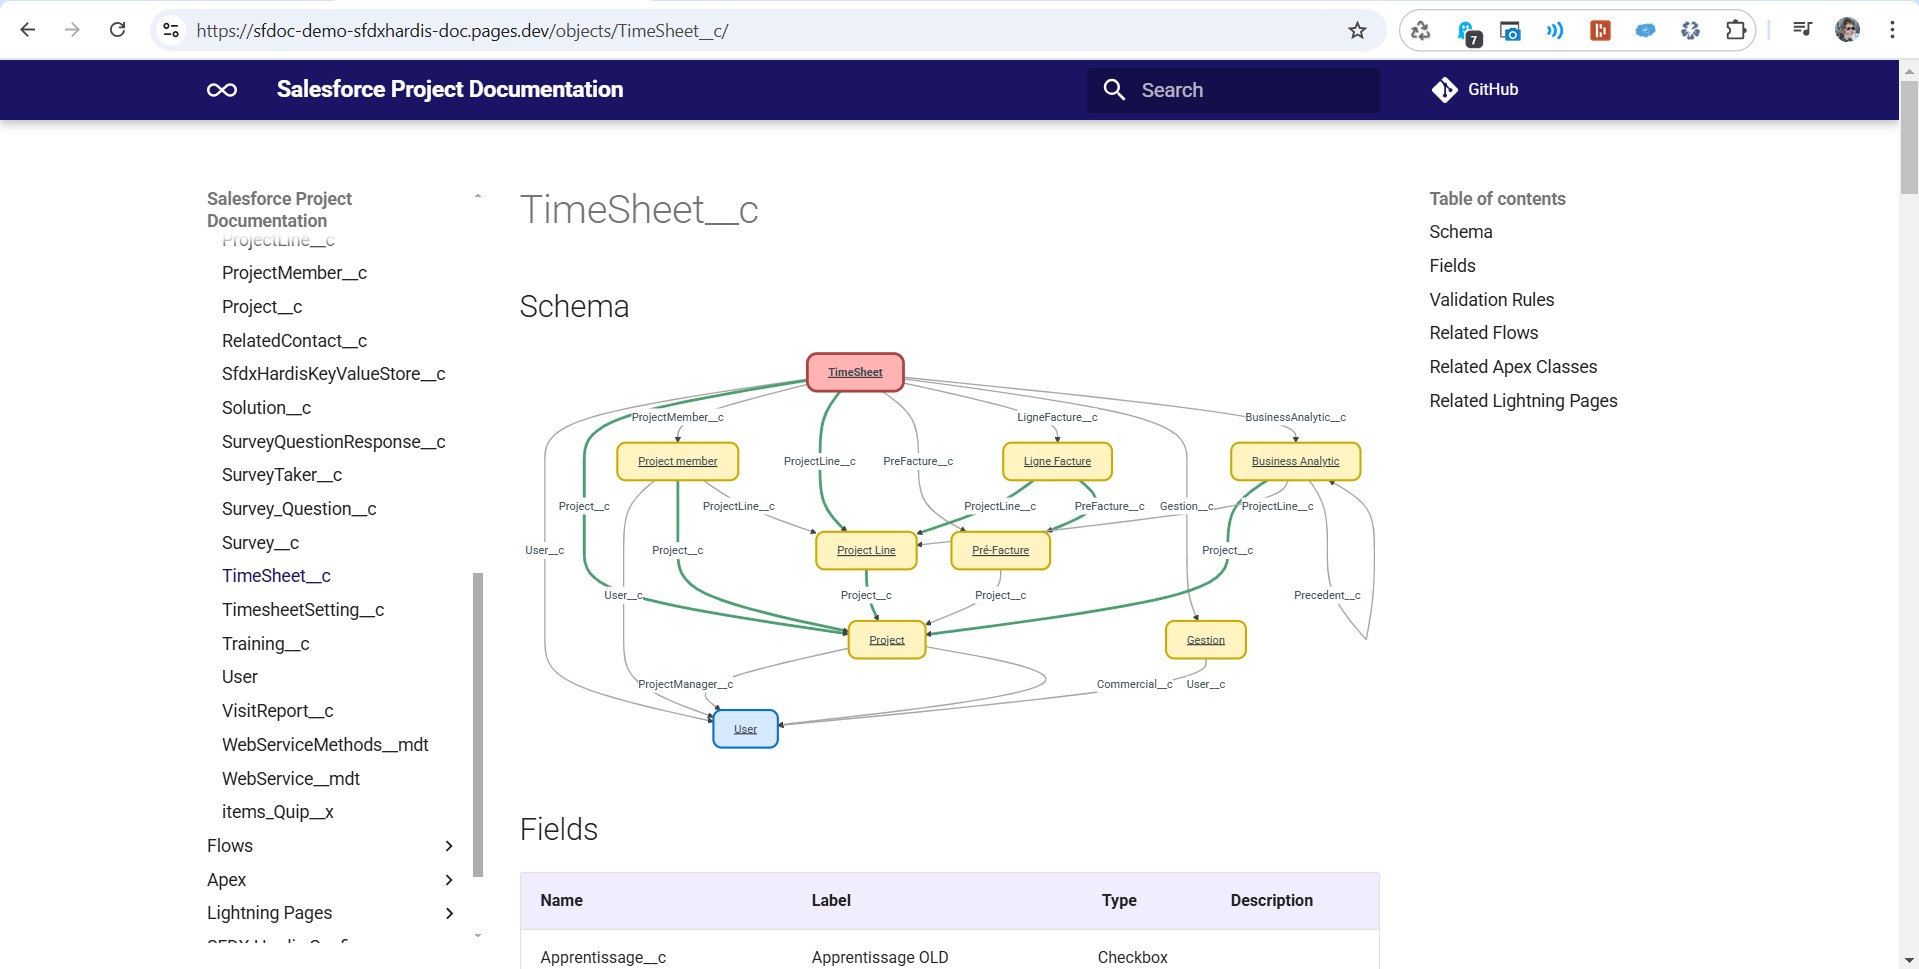
You can also host your HTML documentation on the Cloudflare free tier.
Manually
- Run command Documentation Generation -> Upload HTML Doc to Cloudflare
- Corresponding command line:
sf hardis:doc:mkdocs-to-cf
- Corresponding command line:
From CI/CD
If using sfdx-hardis Monitoring, just set the variable SFDX_HARDIS_DOC_DEPLOY_TO_CLOUDFLARE=true (or the .sfdx-hardis.yml property docDeployToCloudflare: true).
If using custom pipelines, add sf hardis:doc:project2markdown --with-history then sf hardis:doc:mkdocs-to-cf in your workflow.
Make sure the following variables are defined and available from the backup command script:
- SFDX_HARDIS_DOC_DEPLOY_TO_CLOUDFLARE=true
- CLOUDFLARE_EMAIL
- CLOUDFLARE_API_TOKEN
- CLOUDFLARE_ACCOUNT_ID
- CLOUDFLARE_PROJECT_NAME
- CLOUDFLARE_DEFAULT_LOGIN_METHOD_TYPE (optional,
onetimepinby default) - CLOUDFLARE_DEFAULT_ACCESS_EMAIL_DOMAIN (optional,
@cloudity.comby default) - CLOUDFLARE_EXTRA_ACCESS_POLICY_ID_LIST (optional)
Multilingual documentation
Using sfdx-hardis monitoring
If you want to generate the documentation in multiple languages, define the variable SFDX_DOC_LANGUAGES (e.g. SFDX_DOC_LANGUAGES=en,fr,de).
You can define one Cloudflare site per language, for example with the following variables:
CLOUDFLARE_PROJECT_NAME_EN=cloudity-demo-englishCLOUDFLARE_PROJECT_NAME_FR=cloudity-demo-frenchCLOUDFLARE_PROJECT_NAME_DE=cloudity-demo-german
Using custom pipelines
Use variables when you call the commands, for example:
PROMPTS_LANGUAGE=fr sf hardis:doc:project2markdown --with-history
CLOUDFLARE_PROJECT_NAME=cloudity-demo-french sf hardis:doc:mkdocs-to-cf

PROMPTS_LANGUAGE=en sf hardis:doc:project2markdown --with-history
CLOUDFLARE_PROJECT_NAME=cloudity-demo-english sf hardis:doc:mkdocs-to-cf
Create & Configure Cloudflare free tier
Follow the video tutorial to see all the described steps click by click:
- Create a new Cloudflare account on cloudflare.com
- Create a Cloudflare API token with the following scopes, and set it in the CI/CD variable CLOUDFLARE_API_TOKEN
- Account.Cloudflare Pages
- Account.Access: Organizations, Identity Providers, and Groups
- Account.Access: Apps and Policies
- User.User Details
- Set the CI/CD variable CLOUDFLARE_PROJECT_NAME: it is used to build the Pages site (the repository name is used by default)
- Set the CI/CD variable CLOUDFLARE_EMAIL with the email you used to create the Cloudflare account
- Set the CI/CD variable CLOUDFLARE_ACCOUNT_ID
- To get its value, run
npm install wrangler -g && wrangler login && wrangler whoami
- To get its value, run
- Set the CI/CD variable CLOUDFLARE_DEFAULT_ACCESS_EMAIL_DOMAIN, using your company email domain.
- Configure a new Cloudflare Zero Trust Team
- Select the free tier (a credit card is required but will not be charged)
- If you want additional access policies, create them manually in the Cloudflare Zero Trust configuration, and set their IDs in the variable CLOUDFLARE_EXTRA_ACCESS_POLICY_ID_LIST